Yard & Landscaping
How to Build and Plant a Simple Garden Bed
Learn how to make a garden bed from scratch: mark the shape, remove grass, improve soil with compost, then plant and mulch for a clean result.
Building a new garden bed doesn't require heavy equipment or a landscaping crew. The core sequence is straightforward: mark the shape, remove the grass, improve the soil, and plant. Finish with a clean edge and a layer of mulch, and the bed will hold its form through the season. This guide covers each stage in enough detail to get it right the first time.
Planning the Bed: Location, Shape, and Size
Before you break ground, spend five minutes watching where the sun falls. Most flowering perennials and vegetable crops need six or more hours of direct sun; shade-tolerant ground covers can work with two to four. A bed that gets the wrong light will struggle regardless of how well the soil is prepared.
Choose a location that also has reasonable drainage. Low spots that collect water after rain are poor candidates unless you're specifically planting moisture-loving species.
For shape, a gentle curve is more forgiving than hard angles because it's easier to mow along. Use a garden hose or length of rope to lay out the perimeter on the ground before you commit. A can of marking paint (the kind sold for athletic fields or utility marking) lets you trace the outline once you're happy with it.
On size: a first bed of 50--100 square feet is manageable. You can always expand later.
Removing the Existing Grass
This is where most of the physical work lives, and your choice of method affects how quickly you can plant.
Method 1 -- Sod cutting (fastest). A manual sod cutter or a rented power sod cutter slices under the turf in strips. Roll the sections grass-side down, then either compost them or use them to patch bare spots elsewhere in the yard. You can plant within a day or two of this method. The downside is physical effort and a potential rental cost.
Method 2 -- Sheet mulching / smothering (least labor, slowest). Mow the area as short as possible, then wet the grass thoroughly. Lay overlapping pieces of plain corrugated cardboard (remove any tape) over the entire area, overlapping edges by at least six inches so grass can't push through the gaps. Wet the cardboard well, then cover with four to six inches of wood chip mulch or compost. The cardboard smothers the grass and breaks down over six to eight weeks. This method works best if you start it eight to ten weeks before you intend to plant, so plan ahead. It's ideal for large areas or where sod cutting would disturb tree roots.
Method 3 -- Stripping by hand. For smaller beds, a flat spade can cut under the turf in sections. Slide the blade roughly two inches below the surface to sever roots, then peel the sod away. It's slower than a sod cutter but doesn't require renting anything.
Whichever method you use, don't bury or rototill grass back into the bed. Grass that gets turned under often re-sprouts; removing it is cleaner.
Improving the Soil
Good soil preparation is the part most people shortchange, and it's the difference between plants that thrive and plants that survive.
Once the grass is gone, assess what's underneath. Most suburban soils are compacted and low in organic matter. A simple squeeze test tells you texture: grab a handful, squeeze, then open your hand. If it holds a tight ball that won't crumble, the soil has too much clay. If it falls apart immediately, it's sandy.
Step-by-step soil preparation:
- Loosen the top 10--12 inches of soil with a garden fork. Work methodically across the bed, pushing the tines in fully and rocking them gently. Don't over-till to a fine powder; you want to break compaction without destroying structure.
- Spread three to four inches of finished compost over the loosened soil. This is the most important amendment you can add. It improves drainage in clay soils, helps sandy soil retain moisture, and feeds soil biology.
- Work the compost into the top six to eight inches using the fork or a hoe. It doesn't need to be perfectly mixed.
- If you have a soil test showing a pH problem, add lime (to raise pH) or sulfur (to lower it) at this stage. Most ornamentals do well in the 6.0--7.0 range.
- Rake the surface level, then let the bed settle for a day or two before planting if time allows.
Avoid adding sand to clay soil on its own; without organic matter to go with it, it tends to make the texture worse, not better.
Planting the Bed
Plant selection depends on your hardiness zone, the sun exposure you assessed earlier, and what you want the bed to do. A mixed perennial bed gives you something in bloom across the season; a cutting garden might prioritize dahlias and zinnias; a foundation planting might lean toward shrubs with low-growing groundcovers underneath.
A few practical notes:
- Plant taller species toward the back (or center, for a bed viewed from all sides) and shorter ones toward the front edge.
- Dig each planting hole to match the depth of the root ball and about twice as wide. Set the plant so the crown sits at soil level, not buried.
- Water each plant in immediately after planting, even if rain is forecast.
- Space plants according to their mature width, not their current size. A newly planted perennial will look sparse for the first season; crowding it now creates problems in year two.
For a new flower bed, a round-number starting formula is to use three to five plants of each species in loose drifts rather than one-of-everything scattered across the space. It looks more intentional and is easier to maintain.
If you're converting lawn to garden in an area where grass-resistant ground covers would serve you better than flowers, that's worth exploring before you commit to a plant list.
Edging and Mulching to Finish
A defined edge keeps grass and weeds from creeping back into the bed over time. The most durable approach is a trench edge: use a half-moon edger or flat spade to cut a four-to-six-inch-deep vertical slice along the entire perimeter of the bed. The trench creates a physical barrier grass roots have to cross. Plan to re-cut it once or twice a season to keep it sharp. For a full breakdown, see how to edge a lawn for a clean, crisp border.
Plastic or metal landscape edging is an alternative if you want a more permanent border, particularly around curved beds where frequent re-cutting gets tedious.
Once planting is done and the edge is cut, apply two to three inches of mulch across the entire bed surface, keeping it away from plant stems and crowns. Mulch suppresses weeds, holds soil moisture, and moderates soil temperature. Wood chips, shredded bark, and leaf mold all work. Avoid piling it against stems ("volcano mulching") since that traps moisture and can rot the crown or bark. For more detail on applying mulch well, see how to mulch garden beds the right way.
Summary Steps at a Glance
- Choose a location with appropriate sun and drainage.
- Lay out the bed shape with a hose and mark it with paint.
- Remove grass by sod cutting, sheet mulching, or hand stripping.
- Loosen the soil to 10--12 inches with a garden fork.
- Spread and incorporate 3--4 inches of finished compost.
- Plant according to mature size and light requirements.
- Cut a clean edge around the perimeter.
- Mulch to 2--3 inches deep, keeping it away from stems.
Frequently Asked Questions
How long does sheet mulching take before I can plant?
Plan on six to eight weeks minimum. The cardboard needs time to smother the grass and begin breaking down. If you're in a hurry, sod cutting or hand stripping will let you plant within a day or two of removing the turf.
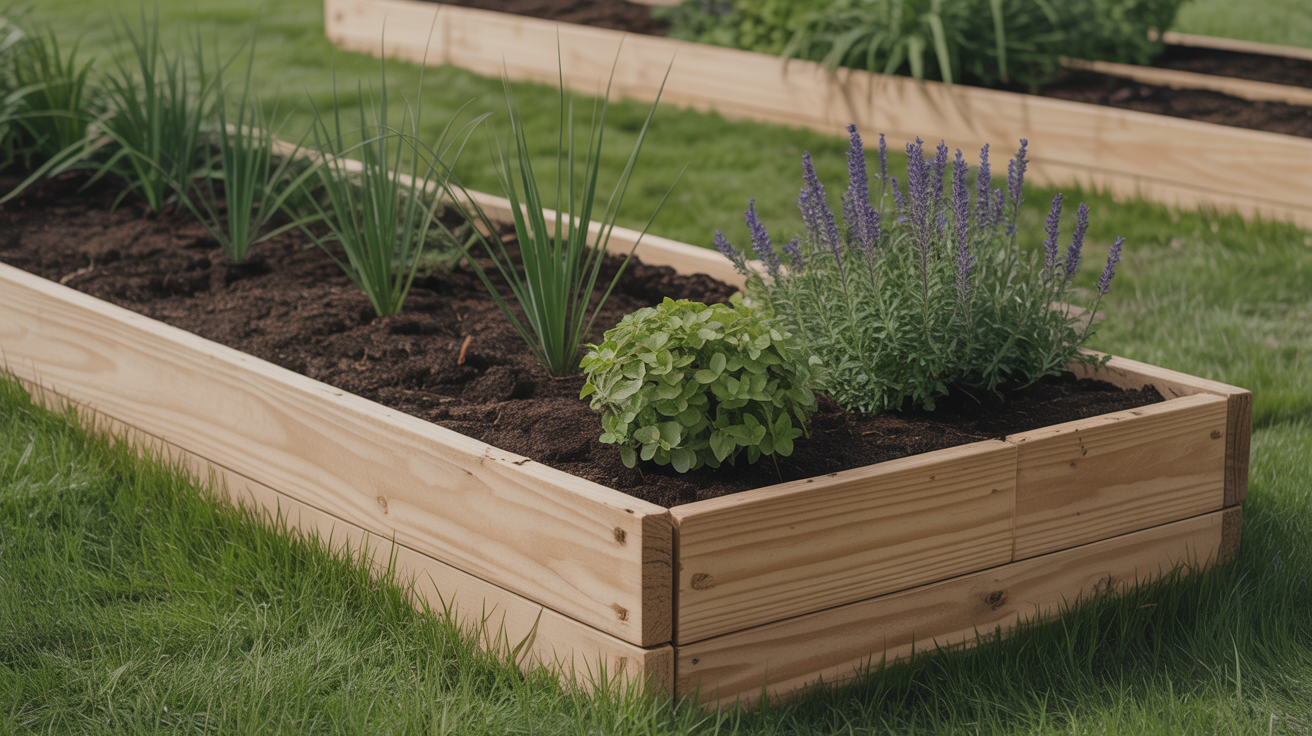
Do I need to remove grass before adding a raised bed frame?
If you're installing a raised bed filled with fresh soil mix on top of the lawn, you don't strictly have to remove the grass first. However, laying cardboard under the frame before filling will prevent grass from pushing up through the added soil over time. It's a small step that saves re-weeding later.
How much compost should I add to a new bed?
Three to four inches spread over the surface and worked in is a good starting amount. That works out to roughly one cubic yard of compost per 100 square feet of bed. For very poor or compacted soils, you can go up to six inches, but more than that in one season offers diminishing returns.
Can I use the sod I removed somewhere else?
Yes. Sod strips can be used to patch bare or thin spots elsewhere in the lawn. Lay them grass-side up, press them firmly into contact with the soil, and water well. They usually knit in within two to three weeks if kept moist.
When is the best time of year to build a new garden bed?
Fall and early spring are both good. Fall-built beds have time to settle over winter, and soil microbes continue working even after frost. Spring beds can be planted quickly once the soil is workable. Summer is the hardest time: the ground is often dry and hard, and newly planted material faces heat stress. Sheet mulching started in late summer can have a bed ready by fall planting time.