Tools & Equipment
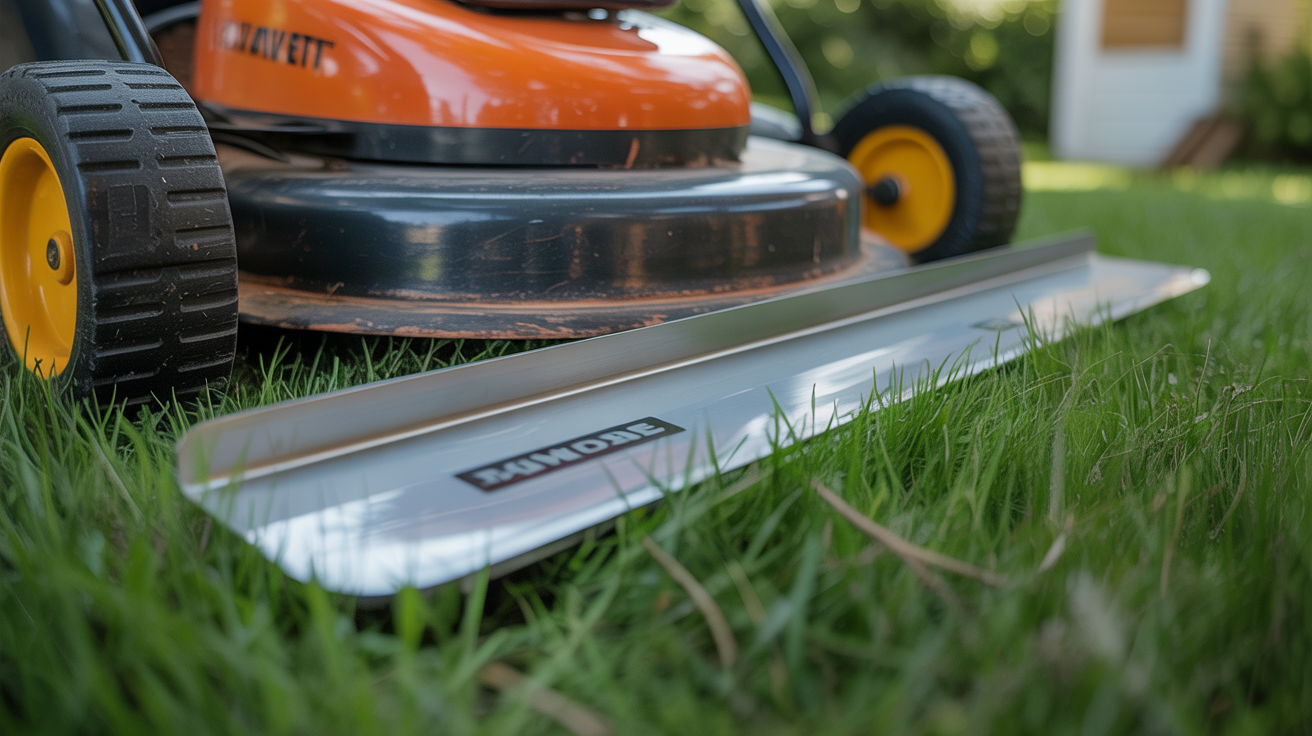
How to Sharpen and Balance a Mower Blade
Learn how to sharpen and balance a mower blade safely at home. Covers removal, filing technique, angle, and balancing for a cleaner cut every time.
A sharp mower blade slices each grass blade cleanly at the tip. A dull one tears and crushes the grass instead, leaving behind ragged ends that turn brown within a day or two and make the lawn look stressed even when it isn't. The fix is simple: sharpen the blade roughly every 20–25 hours of mowing time, and always balance it before reinstalling. Here's how to do both safely and correctly.
Why Blade Sharpness Matters More Than You'd Think
Grass heals quickly from a clean cut. The cells along a clean-cut tip seal off and the plant keeps growing normally. A torn tip is a different story: the frayed tissue dries out, and that browning spreads down a millimeter or two before the plant can recover. Multiply that across millions of blades of grass and you get a lawn that looks dull and dry for days after every mow.
Beyond appearance, a dull blade demands more torque from the engine. On a gas mower that means the engine runs hotter and burns more fuel. On battery mowers, it shortens your runtime per charge. If you're comparing power sources and haven't decided yet, the electric vs. gas mower breakdown covers how each type handles load differently.
Signs your blade needs attention: the lawn has a brown haze the day after mowing, the cut tips look frayed or torn rather than flat, or you can see visible nicks along the blade edge when you inspect it.
Safety First: How to Remove the Blade Correctly
This step matters more than the sharpening itself. A blade that starts spinning while you're underneath the mower is a serious injury risk.
Before you touch anything underneath the mower:
- Disconnect the spark plug wire on a gas mower. Pull the rubber boot off the spark plug and tuck it to the side so it can't accidentally reconnect.
- On a battery-powered mower, remove the battery pack entirely.
- Put on heavy work gloves (the blade edge may already be sharp enough to cut) and safety glasses.
Tipping the mower:
This is where most people make a mistake. If you tip the mower the wrong way, fuel and oil can flood the carburetor and air filter, causing starting problems later or oil smoke the next time you run it.
- Position the mower on a flat, hard surface.
- Tip the mower so the air filter and carburetor face upward, not down. On most walk-behinds, this means tipping onto the side where the air filter is visible.
- Use a block of wood to prop it if needed.
Removing the blade:
- With the mower tipped, locate the center bolt holding the blade to the spindle.
- Wedge a block of scrap wood between the blade and the mower deck to keep the blade from spinning while you loosen the bolt.
- Use a socket wrench to break the bolt loose. Most blades are reverse-threaded (lefty-loosey turns it the wrong direction here); check your owner's manual if it won't budge.
- Remove the bolt and any washers, noting the order.
- Pull the blade off the spindle.
Set the bolt and washers somewhere you won't lose them. A small magnetic tray works well.
How to Sharpen a Mower Blade
You have two main options: a hand file or an angle grinder. A file gives you more control and is a good starting point if you haven't done this before. An angle grinder is faster but easy to overheat or over-grind.
Target angle: approximately 30 degrees. Most factory blades are ground to somewhere between 25 and 35 degrees. You're not trying to hit an exact number; you're trying to match the existing bevel and keep it consistent across the cutting edge.
With a flat mill bastard file:
- Clamp the blade in a vise, cutting edge facing you.
- Hold the file at roughly the existing bevel angle (visually match the shiny, ground surface).
- Push the file forward along the cutting edge with moderate pressure. Don't saw back and forth; file in one direction (away from you), lifting on the return stroke.
- Count your strokes and keep them consistent on each side so you remove roughly the same amount of metal from both ends. This matters for balance.
- After 10–15 strokes, check the edge. You want it sharp enough to shave arm hair lightly, but you do not want it razor-thin. A thin, knife-sharp edge chips faster when it hits a stone or thick stem.
- File until the edge is uniformly smooth and has a consistent bevel. Remove any visible nicks.
With an angle grinder:
Keep the disc moving constantly. Staying in one spot too long heats the metal and can draw out the temper, softening the steel and making it dull again within an hour of mowing. If the metal turns blue or purple, you've overheated that section. Let it cool before continuing, or file that section by hand.
What not to do: Don't try to make the blade sharp enough to shave with. Don't grind down into the sail (the curved lift portion at the back of the blade) and don't try to fix a blade that's cracked, bent, or has a chunk missing. Replace those.
Safety note: Wear eye protection during sharpening regardless of method. A file tooth or grinder spark in the eye is an ER visit. Gloves protect your hands from the edge.
Balancing the Blade Before Reinstalling
A blade that's heavier on one end will vibrate when it spins. That vibration transfers through the deck, the handle, and the spindle bearings. Over time it wears out bearings prematurely and makes the mower uncomfortable to use. Balancing takes two minutes and it's worth doing every time.
The nail-on-the-wall method:
Drive a nail horizontally into a stud or a scrap board, leaving about an inch protruding. Hang the center hole of the blade over the nail so the blade can rotate freely. If one end dips, that end is heavier. File a small amount of metal off the back (non-cutting) side of the heavy end, then check again. Repeat until the blade rests level or rotates freely without falling to one side.
Blade balancer:
A cone-style blade balancer (available for a few dollars at most hardware stores) sits on a flat surface and holds the blade on a point. It shows the same imbalance but is slightly more precise and easier to use than the nail method.
Reinstalling:
- Slide the blade back onto the spindle in the correct orientation. The cutting edge faces down (toward the ground when the mower is upright), and the sail curves upward into the deck. Most blades have "this side down" stamped on them.
- Reinstall the washers in the correct order, then hand-thread the center bolt.
- Wedge the wood block again to hold the blade, then torque the bolt to the manufacturer's spec (typically 35–50 ft-lbs for walk-behinds; check the manual). Snug isn't enough. This bolt loosens under vibration if it isn't properly torqued.
- Set the mower back upright, reconnect the spark plug wire or battery, and run it briefly to confirm there's no unusual vibration.
If you're maintaining other lawn tools at the same time, this is a good moment to check your spreader settings too. A calibrated spreader matters as much for fertilizer coverage as a sharp blade does for cut quality; the broadcast spreader guide covers the details.
How Often Should You Sharpen the Blade?
The 20–25 hour rule is a reliable baseline for most residential lawns. If your lawn has sandy soil (abrasive), lots of sticks, or you mow around gravel paths, sharpen closer to every 15 hours. If you mow a small, clean lawn with no debris, you might stretch it to 30 hours.
A simpler approach: sharpen at the start of the season, mid-season, and at the end before you store the mower. That covers most home situations without tracking hours at all.
Keep a second blade on hand if you mow regularly. Swap in the fresh blade while you sharpen the used one at your own pace, then store the sharp spare for next time. Choosing the right mower for your property in the first place affects how hard the blade works; if you're still deciding between walk-behind types, the push vs. self-propelled vs. riding comparison is a good reference.
Frequently Asked Questions
How do I know if my mower blade is dull?
The clearest sign is browning or a ragged appearance on the grass tips the day after mowing. You can also inspect the blade directly: hold it up to a light source and look for visible nicks, flat spots along the cutting edge, or a rolled edge. A blade in good condition has a consistent bevel with no gaps or notches.
Can I sharpen the blade without removing it?
Technically yes, with a blade-sharpening drill attachment, but it's not recommended. You can't balance a blade without removing it, and you can't properly inspect it either. Sharpening in place also makes it harder to maintain a consistent angle. Remove it every time.
What angle should I sharpen a mower blade?
Match the existing factory bevel, which is typically around 30 degrees. You're trying to restore the original edge, not create a new geometry. A steeper angle (more like 45°) dulls faster; a shallower angle (below 25°) creates a thin edge that chips on impact. Stay within the existing bevel and you'll be fine.
Is it okay to use a very dull blade for one more mow?
It won't destroy your lawn in a single pass, but repeated mowing with a dull blade causes cumulative stress, especially in summer heat when the grass is already under pressure. The torn tips also create more entry points for fungal disease. Sharpening takes 20–30 minutes; it's worth doing before the next mow rather than after.
When should I replace the blade instead of sharpening it?
Replace the blade if you find a crack anywhere along the length, a visible bend that won't straighten, or a chunk missing from the cutting edge. Surface nicks and dull edges are sharpening problems; structural damage is a replacement problem. A damaged blade can fail at high RPM and become a projectile. When in doubt, a new blade costs less than an ER visit.