Tools & Equipment
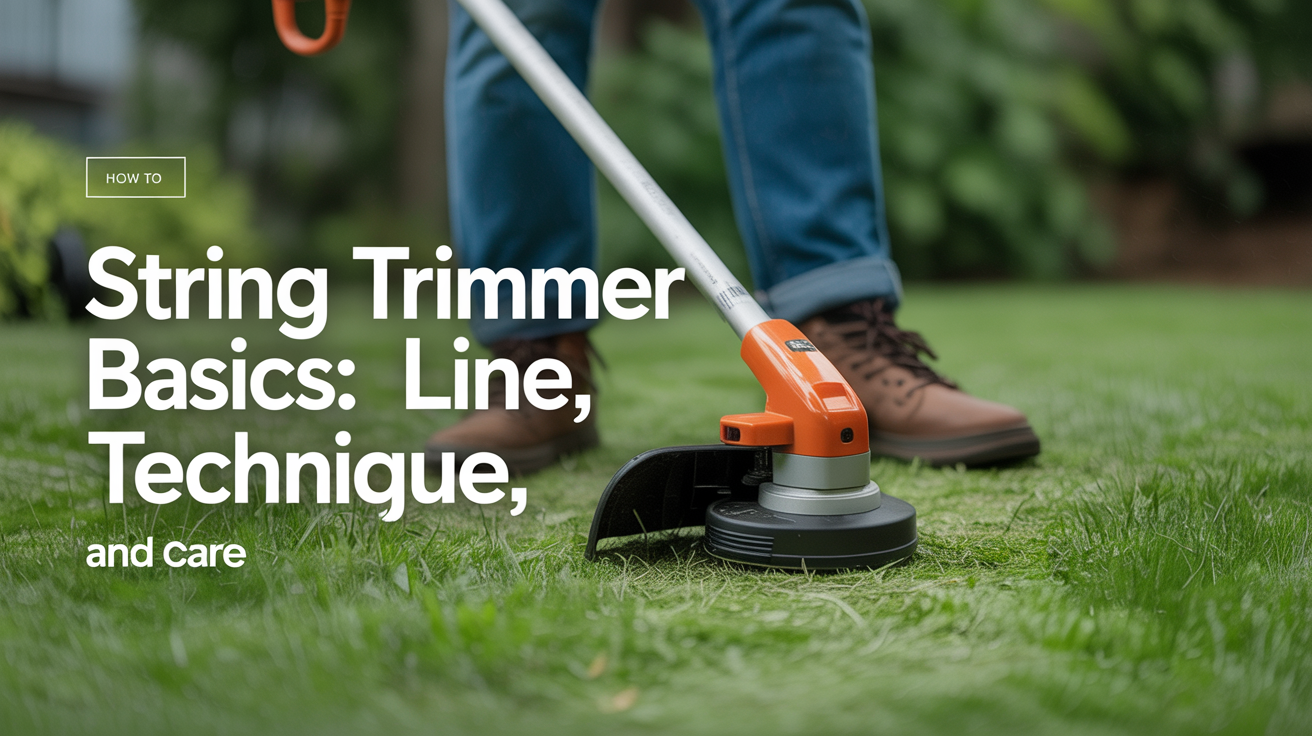
String Trimmer Basics: Line, Technique, and Care
Learn how to use a string trimmer safely and effectively, from holding the tool correctly to replacing line and edging crisp borders.
A string trimmer fills in where a mower cannot reach: along fences, around tree trunks, next to raised beds, and at the edge of a driveway. If you have never picked one up, the tool can feel awkward at first. Within a short session you will find a rhythm, and the rest of the yard will start to look a lot more finished.
This guide walks through picking the right tool, moving it correctly, cutting clean edges, replacing line, and keeping the trimmer in good shape for seasons to come.
Choosing a Trimmer Before You Start
String trimmers come in three power types. Each has real trade-offs worth knowing before you buy or borrow.
Gas trimmers run on a two-stroke or four-stroke engine. They handle heavy growth and large yards well, and you are never waiting on a charge. The trade-off is that they are louder, heavier, and need seasonal maintenance such as fresh fuel mix and spark plug checks. If you already own a gas mower, the maintenance rhythm feels familiar.
Corded electric models are light and quiet. They never run out of power mid-session, but an extension cord limits your range and adds a tripping hazard.
Battery-powered trimmers have improved considerably. A 40V or 56V unit handles most residential yards without trouble, and the runtime is usually enough for a single session. They start instantly and need minimal upkeep.
For most beginner homeowners, a battery-powered trimmer is a practical starting point. If you are weighing the broader picture of lawn equipment, the same power-source trade-offs apply to mowers; see Electric vs. Gas Lawn Mowers: How to Choose for a fuller breakdown.
Bump-Feed vs. Fixed-Head Trimmers
Most consumer trimmers use a bump-feed head. You tap the head against the ground while the trimmer is running, and the spool releases a bit more line. Fixed-head trimmers take pre-cut lengths of line loaded into individual slots. Bump-feed is more common, and this guide focuses on that type.
Safety Gear and Pre-Start Checks
String trimmers hurl debris at high speed. Rocks, wood chips, and bits of hardened soil routinely fly several feet from the cutting head. Before you pull a trigger or yank a cord:
- Put on safety glasses or a face shield.
- Wear closed-toe shoes. Sandals and trimmers do not mix.
- Long pants protect your shins from flying grit.
- Hearing protection is worth it for gas trimmers and long sessions with any type.
Walk the area you plan to trim before you start. Pick up any rocks, wire, or debris that could become a projectile. Check that no children or pets are nearby.
Inspect the trimmer itself. Look for cracked housing, frayed cord (on corded models), or a damaged line head. Do not run a trimmer with missing guards.
Weed Eater Technique: How to Hold and Move the Trimmer
Getting the body mechanics right protects your back and produces a cleaner cut.
Grip and posture. Hold the rear handle with your dominant hand and rest your forearm through or against the loop handle near the shaft. Keep your elbows slightly bent and your back upright. Hunching over the machine for an hour will wear you out faster than the job itself.
Keep the head level. The cutting line works best when it stays roughly parallel to the ground, hovering just above the grass surface. Tilting the head too far up cuts on just one side of the spool and leaves a ragged finish. Tilting it too far down scalps the ground and burns through line quickly.
Move in the right direction. The trimmer head rotates counterclockwise (when viewed from below). That means the left side of the cutting arc is the active cutting edge and the right side is where clippings fly. Walk from right to left so material is discharged away from beds, sidewalks, and anything fragile. Along a fence line, position the trimmer so discharge goes toward open lawn.
Overlap your passes slightly. Move at a steady walking pace. If you rush, you end up making a second pass anyway. Slow and steady gives a more even result.
Bump the head when line gets short. When you notice the trimmer losing cutting power, briefly tap the head on the ground while it is still running. The bump-feed mechanism releases a couple of inches of fresh line. Avoid bumping repeatedly in a row; it wastes line faster than the job requires.
Edging with a String Trimmer
Edging creates a clean separation between your lawn and a hard surface. It is one of the details that makes a yard look properly maintained.
The technique is a simple rotation. At the edge of a sidewalk or driveway:
- Tilt the trimmer so the shaft is roughly vertical and the line head is pointed downward at the crack between the turf and the pavement.
- Hold the line head a half-inch to an inch above the surface so the line cuts through the grass and soil rather than grinding against concrete.
- Walk at a slow, steady pace. Let the line do the cutting; do not press down or force the head into the ground.
- The discharge will kick grass clippings onto the pavement. Blow or sweep them onto the lawn after you finish rather than leaving them on the driveway.
Around curved bed edges, follow the arc of the border. Consistent trimming a few times a season keeps the line crisp. If the edge has been neglected and grass has grown far over the pavement, a flat spade or half-moon edger does a better job for the initial reset, and then the trimmer maintains it from there.
Roots and rocks near bed borders can snap line fast. Slow down in tight spots and raise the head slightly if you hear the line snapping repeatedly.
How to Replace Trimmer Line
Line breaks, wears down, or melts back into the spool if the trimmer sits in a hot garage. Reloading is a skill worth learning once, and after that it takes only a few minutes.
The general process for a bump-feed spool:
- Remove the spool cover by pressing the tabs on the sides and pulling it off (or twist-locking, depending on the model; check your manual).
- Remove the old spool. Note which direction the line winds on the spool; most have an arrow showing the winding direction. Winding the wrong way means the bump-feed will not release line.
- Cut a length of replacement line. Most residential trimmers use 0.065 to 0.095 inch diameter line. Thicker line handles tougher vegetation but wears faster on a small motor. Check your trimmer's manual for the correct diameter and the recommended length per load.
- Feed one end through the anchor slot or notch on the spool. Wind the line in the direction of the arrow, keeping it tight and even. Leave about six inches free.
- Clip the free end into the holding notch on the spool rim so it does not unravel as you reassemble.
- Thread the free end through the eyelet on the trimmer head, snap the spool into the housing, and replace the cap.
A small amount of fresh water on the spool before you store it keeps the line from fusing together in heat. Line sold on bulk spools is usually cheaper than manufacturer replacement cartridges and works just as well.
Trimmer Line Quick Reference
| Line diameter | Best for | Notes |
|---|---|---|
| 0.065 in | Light grass, residential edges | Most common; easy on smaller motors |
| 0.080 in | Heavier grass, general trimming | Good all-around choice |
| 0.095 in | Dense weeds, thick growth | Needs a more powerful motor |
| Twisted / serrated line | Woody weeds, thick stems | Cuts faster but wears through quickly |
Caring for Your Trimmer Between Uses
A few minutes of attention after each session adds years to the tool's life.
Clear the head and shaft. Grass wraps around the trimmer head and can work its way up the shaft toward the motor. After you finish, let the trimmer cool and remove any wrapped grass with a stiff brush or your fingers.
Inspect the line. If you are nearly out of line, reload before the next session rather than in the middle of it.
Gas trimmer fuel care. If you are storing the trimmer for more than a month, run the tank dry or add a fuel stabilizer. Stale fuel is the most common reason a gas trimmer will not start in spring.
Battery care. Store lithium batteries at partial charge (around 50 to 80 percent) in a cool, dry place. Leaving them fully charged for months shortens their cycle life.
Check the guard. The plastic debris guard that shields your legs should be firmly attached. Replace it if it cracks; they are inexpensive.
String trimmers are one piece of a larger equipment picture. For mowing decisions, see Push, Self-Propelled, or Riding: Choosing the Right Mower, and for blade care that affects cut quality, How to Sharpen and Balance a Mower Blade covers the process step by step.
Frequently Asked Questions
How close to a tree trunk can I trim? Keep the line several inches away from the bark. String trimmers can slice through the outer bark of young trees, exposing the cambium layer underneath. Repeated damage in the same spot can girdle the tree over time. If you trim regularly around the same trees, consider placing a small ring of mulch around the base to create a buffer zone.
Why does my trimmer line keep breaking? The most common reasons are using line that is too thin for the vegetation, running the head too close to rocks or concrete, and old line that has become brittle from sun and heat exposure. Match line diameter to the job, slow down near hard surfaces, and store replacement line out of direct sunlight.
Can I use a string trimmer to mow a whole lawn? Technically yes, but it is slow, tiring, and produces an uneven result. String trimmers are designed for detail work. A push mower handles open lawn far more efficiently. Reserve the trimmer for edges and spots the mower physically cannot reach.
How often should I replace the trimmer line? There is no fixed schedule; it depends on how often you trim and what you cut. You will know it is time when the line is worn short and bumping the head no longer releases more. Keep a spare spool on hand so you are not stopping mid-job.
My bump-feed head is not releasing line. What should I check? First, make sure the line is wound in the correct direction. Line wound the wrong way will not feed. Second, check that the line is not fused together inside the spool from heat; this can happen with low-quality line or storage in a hot space. If the line is fused, replace the spool. Third, confirm the cap is seated fully; a loose cap can prevent the bump mechanism from functioning.